DIY REUPHOLSTERED OTTOMAN
(NO SEWING REQUIRED! WOOT - WOOT!)


So, here's where we began... A terribly made ottoman that came with our sectional. Seriously, what kind of furniture company takes pride in the fact that their ottoman is made from CARDBOARD on top to support what, magazines? ... I mean seriously, it supported nothing, not even our feet. The entire top caved in whenever something was put on it. So, after months of it sitting around in the basement I decided to do it over myself.
I bought:
34"x34" sheet of 1/2" plywood (Home Depot rocks at cutting things for you!)
Fabric - I used this one from JoAnn Fabrics for the top when I had a 50% off coupon!
Liquid Stitch from Michaels
Needles & Thread
Pillows
Buttons
You'll also need scissors, tape measure, staple gun, drill and screws.


Well, here's where we began. This is the top once I took off the fabric, batting and crap cardboard on top. I left this as is, I added the plywood later as it was used as the top!

Once all my fabric was off and staples were pulled out I made the top of the ottoman first.
I drilled holes (you can see them if you look close) for the tufting (that I never ended up doing!)

I'm not sure why I didn't get a photo of the process of this... OOPS!
But, here's a photo of the top batting, foam and it sitting on top of the frame of the ottoman base.
I literally laid the batting on top of this plywood, stretched my fabric and then used a staple gun. So easy!

It turned out better than I could have imagined. So proud of myself! :)

So, I set that aside and made the base.
This was the more irritating part but pretty easy once I got my pattern down!
Again, I used the actual batting from the old ottoman that I was able to save.
It worked out great!


Then once all sides were covered and stapled down I had to sew my two pieces of fabric together. I cheated a bit, I used liquid stitch first and then just added stitches to make it look nicer! (It's so not the best sewing job ever but it works and no one can tell once it's all put together)


Once my fabric was sewn and dried good I ironed it to smooth it all out and began laying it on the ottoman, stretching and stapling! I stapled all of it down and then I was done!
Once the bottom was done I flipped it over with the top of the ottoman plywood side up and used a drill with 2" screws to attach them together.
Here's the underneath once it was done:


These feet were from the original ottoman, I was able to reuse them even though I still want to buy really nice thick wood ones! Eventually!

I may have over-stapled, what do you think? Oh, well!

Small touches to the ottoman, I didn't want to sew anything on my own so I folded the corners over and added stitches by hand to make it look nicer. (It's dirty of course... thanks to the toddler that lives here!) :)


DIY NO-SEW PILLOWS
So, when I had leftover fabric I made pillows... and get this, I didn't sew a damn thing.
Liquid stitch is my new BFF. Who knew this stuff was so amazing and didn't tell me?!
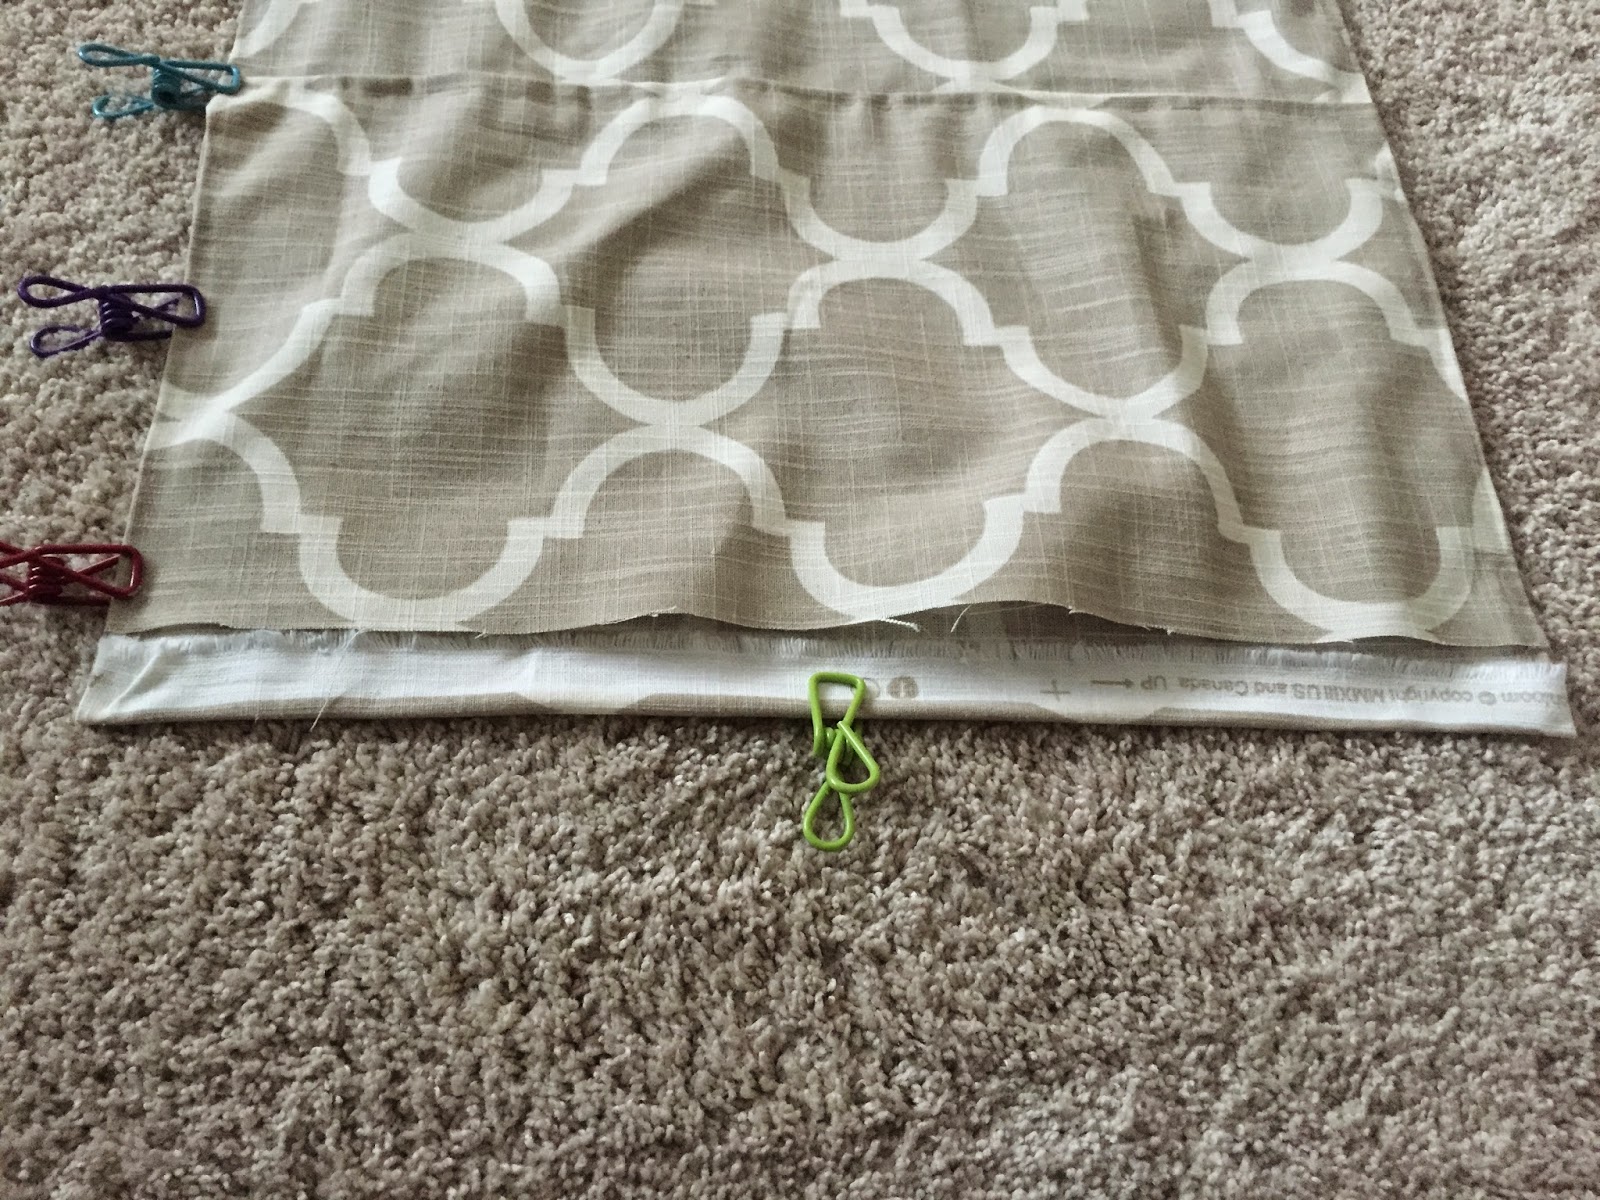
I used liquid stitch and chip clips. Amazing combo, let me tell ya!
So, first grab your pillow and then measure your fabric to ensure it will fit! I used 2 of these from JoAnn's, they're so soft and perfect size.


(This is the only pillow I had to sew the two pieces in the middle together. I ran out of fabric!)
Again, just like the ottoman, I used liquid stitch to hold together and then ran some stitches with thread by hand to reenforce it and make it look nicer.

I let the glue dry for about 20-30 min. before stuffing the pillow in. It worked great!


That was easy wasn't it?

We've been using the ottoman and pillows for over a month now and no tears, rips at the seams or anything at all! They are holding up great and everyone loves them!
Happy crafting!
XO, K.
No comments:
Post a Comment